Initial Setup
To start with, get the latest version of the Simple from https://pistolshrimp.itch.io/simple.
Pick a directory to extract the zip file. It can live anywhere, but you are required to keep your content alongside the executables with the following structure:
root directory
|- install
|- game
   |- (content goes in here)
The Simple zip file contains a few executables which serve different purposes. Just to outline them:
- simple.exe: The Simple script editor, where you’ll be working.
- viewer.exe: The Simple viewer, which is used when running the simulation.
- trivial_signaling_server.exe: A network peering server, optionally used when testing or playing multiplayer.
For now, you’ll only need to worry about running simple, so let’s start there.
Creating a Sim
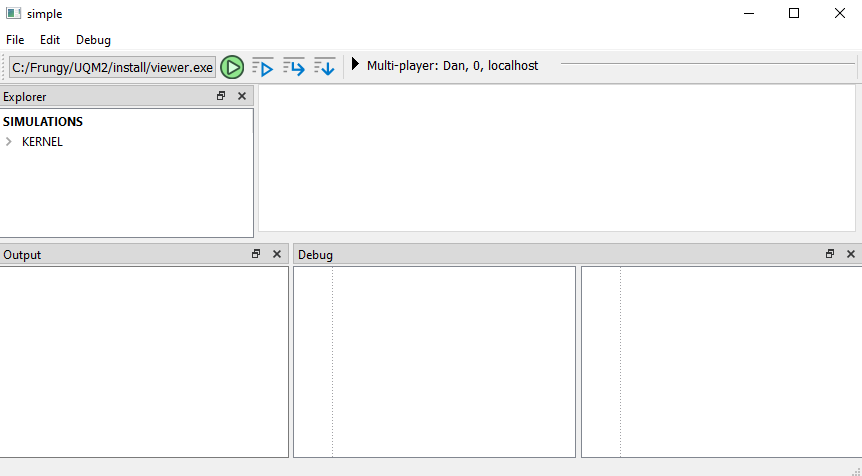
Start by opening simple, and you should see an interface that looks something like this.
Let’s begin by making a new sim file. Sim files are just containers for ai files, which are scripts that describe the gameplay components and logic for your simulation. A sim is sort of like a level in the traditional sense.
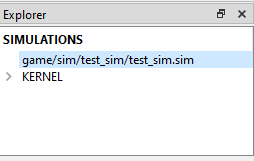
Go to File > New Simulation… and place the sim file somewhere inside the game/ subdirectory. Since you will likely be making many sims, it’s probably a good idea to create a directory to house your sim (e.g. game/sim/test_sim/test_sim.sim).
Your Simulations window should now look like this, with the sim file added.
Adding a Script File
A sim is just a container, so we need some ai files to actually create some gameplay.
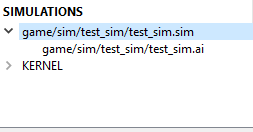
Add a new ai file by going to File > New and picking a place to put the ai file. Let’s put it next to your sim file and name it the same as your sim, since we’ll be using it to house the main component. Place the file at game/sim/test_sim/test_sim.ai.
Your Simulations window should now look like this, with the simulation and ai included.
Adding a Component
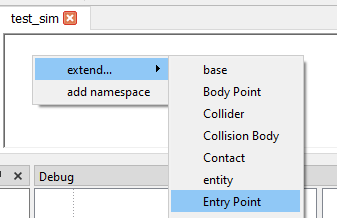
An ai file contains components (more on them when you get further), which are the building blocks of your gameplay. Sims require at least one type of component, which is called an Entry Point. It is the actual definition of your sim experience.
When you added the ai file, above, it should have opened the script in the editor window. If not, just double-click it in the Simulations window. Right click and pull down to Extend > Entry Point.
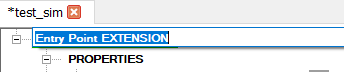
You should see a new Entry Point component added to your script, waiting to be renamed. Name it something to match your sim, like Test Sim.
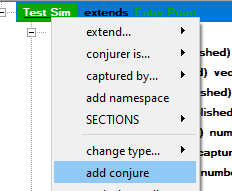
We’ll learn more about the different types of markup later, but, for now, add the conjured markup to your component. This tells the sim that it should make a copy of this component immediately upon being run. Right click on the component and select add conjure.
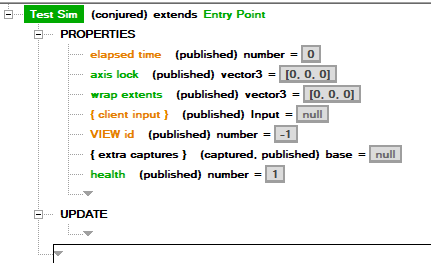
Your component will now have the (conjured) markup indicated next to the name.
Adding Logic Sections

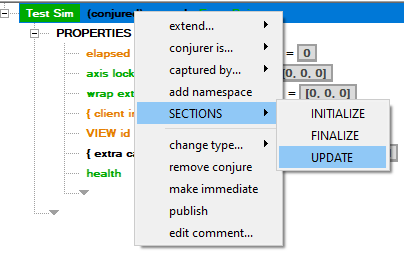
To make a component do things, we either need to add markup, like the conjured above, or we need to add sections which can include script logic. Let’s make our sim into a simple “Hello World” by adding a section for some script. Right click on the component, and select SECTIONS > UPDATE.
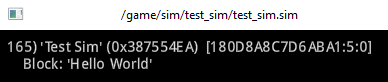
Your component will now have an UPDATE section which executes the script written in there every frame.
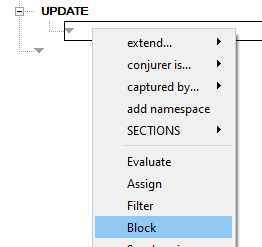
Let’s add a very simple script operation with the Block command, giving it some text, and adding a print. Right click in the newly-added UPDATE section and select Block
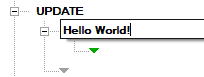
A Block line will be added, and you can type some text in it. If you close the text entry window, you can bring it back up by double-clicking on the text area of the block. Add some text like “Hello World!”, and press Enter to commit it.
We’re almost ready to run our very simple simulation. Let’s prove that Block is executing by adding a print. Right click on the Block line and select print to target, which will make it print the test to the screen when the Block runs.
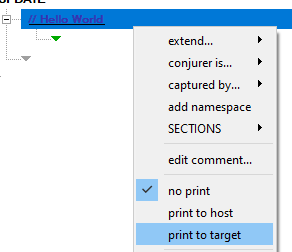
An icon appears on the righthand side of the line indicating it has a print associated with it.

Running the Simulation
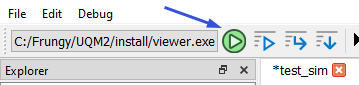
Now you’re ready to actually try running the simulation. Press the Play button in the top toolbar to run your sim.
If all goes well, a new window should pop up (the viewer), with some text printing to the top left of the screen. Your simulation is now running!
Continue to part 2 to get up and running with some slightly more involved elements.